Tutorial
Jun 13, 2024
Integrating Stripe on Web and Native apps with Expo

By the end of this article, you will learn how to integrate Stripe with your Expo app to provide a seamless payment experience on Web, iOS, and Android. Additionally, you will explore Platform-specific extensions which facilitate module switching based on the platform in Expo Router.
You can find a link to the project on Github here, and below is a demo of what you're going to build:
Prerequisites
Before we get started, ensure you've done the following:
Stripe Integration: Ensure you have followed this guide on setting up Stripe.
Backend Server: You need a backend server to communicate with Stripe and return a client secret (check the code snippets section at the bottom of this article for an example)
Stripe Publishable Key: Obtain a Stripe publishable key from the Stripe dashboard
Create your Expo app
Use the following command to create a brand new Expo project:
npx create-expo-app@latest --template defaultOnce the app is created, you will need to do the following:
delete the
app/(tabs)directorycreate a new
index.tsxfile insideappupdate the
_layout.tsxfile; replacename="(tabs)"withname="index"
Install the required dependencies
Next, install the Stripe dependencies needed for this project:
npx expo install @stripe/stripe-react-native @stripe/react-stripe-js @stripe/stripe-jsAdd Platform-specific extensions for the UI
Platform-specific extensions allow for different app experiences based on the platform. You may want to show specific content on Web compared to iOS or Android; platform-specific extensions enable you to achieve this.
Create two files in your app directory: _layout.tsx and _layout.native.tsx. The .native.tsx extension ensures that Expo Router renders the correct component for native apps, while the .tsx extension renders for web. Both files should have the same content as follows:
import {
  DarkTheme,
  DefaultTheme,
  ThemeProvider,
} from "@react-navigation/native";
import { useFonts } from "expo-font";
import { Stack } from "expo-router";
import * as SplashScreen from "expo-splash-screen";
import { useEffect } from "react";
import "react-native-reanimated";

import { useColorScheme } from "@/hooks/useColorScheme";

// Prevent the splash screen from auto-hiding before asset loading is complete.
SplashScreen.preventAutoHideAsync();

export default function RootLayout() {
  const colorScheme = useColorScheme();
  const [loaded] = useFonts({
    SpaceMono: require("../assets/fonts/SpaceMono-Regular.ttf"),
  });

  useEffect(() => {
    if (loaded) {
      SplashScreen.hideAsync();
    }
  }, [loaded]);

  if (!loaded) {
    return null;
  }

  return (
    <ThemeProvider value={colorScheme === "dark" ? DarkTheme : DefaultTheme}>
      <Stack>
        <Stack.Screen name="index" options={{ headerShown: false }} />
        <Stack.Screen name="+not-found" />
      </Stack>
    </ThemeProvider>
  );
}
Next, create the screen for the index route with similar file extensions. You should have two index files: index.native.tsx and index.tsx with the following content:
// index.native.tsx:

import { Image, StyleSheet } from "react-native";
import { HelloWave } from "@/components/HelloWave";
import ParallaxScrollView from "@/components/ParallaxScrollView";
import { ThemedText } from "@/components/ThemedText";
import { ThemedView } from "@/components/ThemedView";

export default function HomeScreen() {
  return (
    <ParallaxScrollView
      headerBackgroundColor={{ light: "#A1CEDC", dark: "#1D3D47" }}
      headerImage={
        <Image
          source={require("@/assets/images/partial-react-logo.png")}
          style={styles.reactLogo}
        />
      }
    >
      <ThemedView style={styles.titleContainer}>
        <ThemedText type="title">Stripe on Native!</ThemedText>
        <HelloWave />
      </ThemedView>
    </ParallaxScrollView>
  );
}

const styles = StyleSheet.create({
  titleContainer: {
    flexDirection: "row",
    alignItems: "center",
    gap: 8,
  },
  stepContainer: {
    gap: 8,
    marginBottom: 8,
  },
  reactLogo: {
    height: 178,
    width: 290,
    bottom: 0,
    left: 0,
    position: "absolute",
  },
});
// index.tsx
import { Image, StyleSheet } from "react-native";
import { HelloWave } from "@/components/HelloWave";
import ParallaxScrollView from "@/components/ParallaxScrollView";
import { ThemedText } from "@/components/ThemedText";
import { ThemedView } from "@/components/ThemedView";
export default function HomeScreen() {
return (
<ParallaxScrollView
headerBackgroundColor={{ light: "#A1CEDC", dark: "#1D3D47" }}
headerImage={
<Image
source={require("@/assets/images/partial-react-logo.png")}
style={styles.reactLogo}
/>
}
>
<ThemedView style={styles.titleContainer}>
<ThemedText type="title">Stripe on Web!</ThemedText>
<HelloWave />
</ThemedView>
</ParallaxScrollView>
);
}
const styles = StyleSheet.create({
titleContainer: {
flexDirection: "row",
alignItems: "center",
gap: 8,
},
stepContainer: {
gap: 8,
marginBottom: 8,
},
reactLogo: {
height: 178,
width: 290,
bottom: 0,
left: 0,
position: "absolute",
},
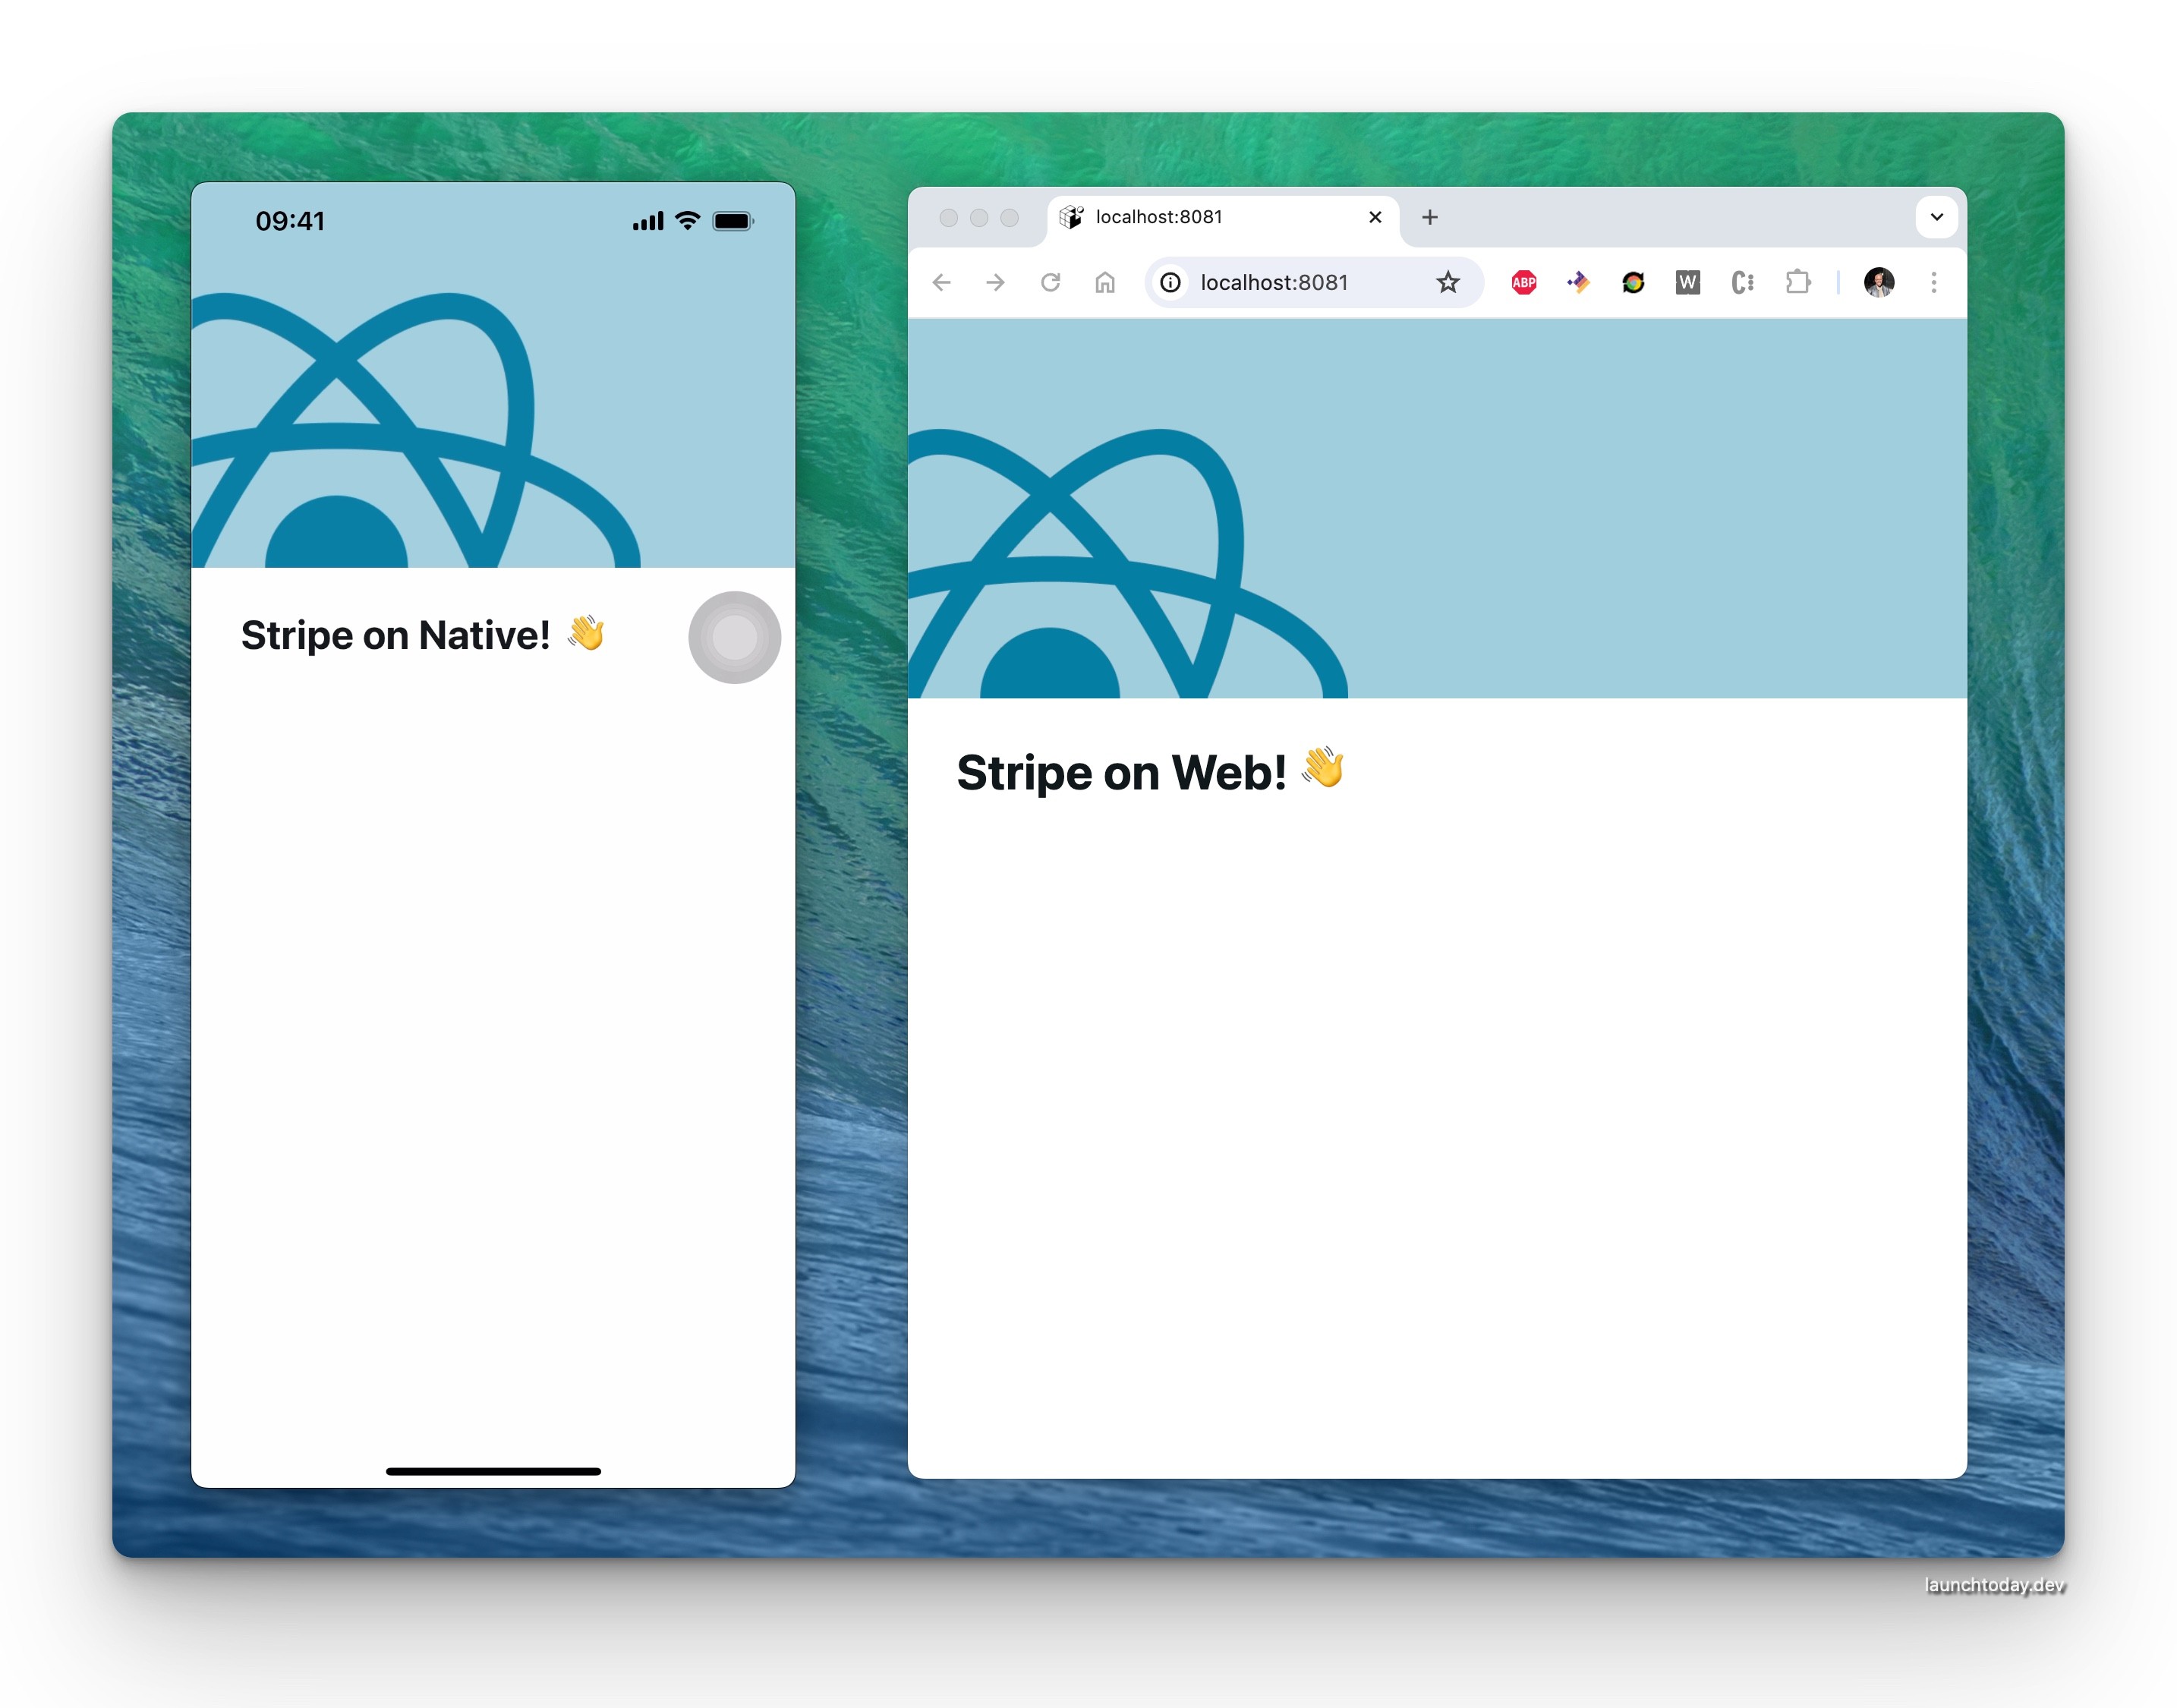
});As a result, your Web and Native app should resemble the following:
Add Platform-specific extensions for Stripe
The next step is to create the platform-specific extensions for Stripe. These will expose different functions that will be called based on the platform.
First, create a new providers directory in the root of your project and add a folder named stripe. Inside this folder, you will need to create the following files:
stripe.native.tsx- this will export aStripeProvidercomponent from the@stripe/stripe-react-nativedependencystripe.web.tsx- this file will export a placeholderStripeProvidercomponent for the web, without importing Stripe.stripeFunctions.native.tsx- this file will export native functions for initialising and presenting the Stripe payment sheet on native platformsstripeFunctions.web.tsx- this file will export placeholder functions for the web, omitting the Stripe import.
Let's focus on each file one by one and add the correct code.
stripe.native.tsx
Add the following content to the file. This file will import Stripe, initPaymentSheet and presentPaymentSheet from @stripe/stripe-react-native:
import * as Stripe from "@stripe/stripe-react-native";
import {
  initPaymentSheet,
  presentPaymentSheet,
} from "@stripe/stripe-react-native";

export const StripeProvider: React.FC<{
  publishableKey: string;
  children: JSX.Element | JSX.Element[];
}> = ({ publishableKey, children }) => {
  return (
    <Stripe.StripeProvider
      publishableKey={publishableKey}
    >
      {children}
    </Stripe.StripeProvider>
  );
};

export { initPaymentSheet, presentPaymentSheet };
stripe.web.tsx
Add the following content to the file:
import React from "react";

export const StripeProvider: React.FC<{
  publishableKey: string;
  children: JSX.Element | JSX.Element[];
}> = ({ children }) => {
  return <>{children}</>;
};
stripeFunctions.native.tsx
Similar to stripe.native.tsx, this file will export the initPaymentSheet and presentPaymentSheet from @stripe/stripe-react-native to be used in the native app for initialising and displaying the payment sheet:
import { PaymentSheetConfig } from "@/types";
import {
  initPaymentSheet as nativeInitPaymentSheet,
  presentPaymentSheet as nativePresentPaymentSheet,
} from "@stripe/stripe-react-native";

export const initPaymentSheet = async (
  paymentSheetConfig: PaymentSheetConfig
) => {
  return await nativeInitPaymentSheet(paymentSheetConfig);
};

export const presentPaymentSheet = async () => {
  return await nativePresentPaymentSheet();
};
stripeFunctions.web.tsx
Lastly, this file will export placeholder functions for web:
export const initPaymentSheet = async () => {
  return { error: null };
};

export const presentPaymentSheet = async () => {
  return { error: null };
};
Create a Stripe Provider
Once the above files are created, you need to create a StripeProvider.tsx component within your providers directory. This component will import the appropriate StripeProvider based on the platform. Your file structure should dynamically import the correct provider, ensuring functionality across both web and native platforms:
import React from "react";
import { StripeProvider as CustomStripeProvider } from "./stripe/stripe";

type StripeProviderProps = {
  children: JSX.Element | JSX.Element[];
};

const StripeProvider: React.FC<StripeProviderProps> = ({
  children,
}: StripeProviderProps): JSX.Element => {
  const publishableKey = process.env.EXPO_PUBLIC_STRIPE_PUBLISHABLE_KEY;

  if (!publishableKey) {
    throw new Error(
      "publishableKey is not set. Ensure that EXPO_PUBLIC_STRIPE_PUBLISHABLE_KEY is set in your environment variables."
    );
  }

  return (
    <CustomStripeProvider
      publishableKey={publishableKey}
    >
      {children}
    </CustomStripeProvider>
Stripe on Web
To define the behavior for showing the Stripe form on the web, you will need to fetch a client secret from your backend server. This client secret is required to display payment form for entering card details. Upon loading the component, use the client secret to initialise Stripe Elements and render the payment form accordingly.
In the index.tsx file of your app (inside the app directory), replace the contents of the file with the following:
import { ThemedView } from "@/components/ThemedView";
import { Elements } from "@stripe/react-stripe-js";
import { useEffect, useState } from "react";
import { ActivityIndicator } from "react-native";
import { Appearance, Stripe, loadStripe } from "@stripe/stripe-js";
import { useThemeColor } from "@/hooks/useThemeColor";
import { createPaymentIntentClientSecret } from "@/helpers";
import CheckoutForm from "@/components/CheckoutForm";

export default function Screen() {
  const [clientSecret, setClientSecret] = useState<string | null>();
  const [stripePromise, setStripePromise] =
    useState<Promise<Stripe | null> | null>(null);

  const backgroundColor = useThemeColor(
    { light: "white", dark: "black" },
    "background"
  );

  const publishablekey = process.env.EXPO_PUBLIC_STRIPE_PUBLISHABLE_KEY;

  if (!publishablekey) {
    throw new Error("Stripe publishable key is not set");
  }

  useEffect(() => {
    async function fetchClientSecret() {
      const requestBody = {
        amount: 1000, // Replace with the actual amount
        currency: "usd", // Replace with the actual currency
      };

      const { clientSecret } = await createPaymentIntentClientSecret(
        requestBody
      );

      setClientSecret(clientSecret);
      setStripePromise(loadStripe(publishablekey!));
    }

    fetchClientSecret();
  }, []);

  if (!clientSecret) {
    return (
      <ThemedView style={{ justifyContent: "center" }}>
        <ActivityIndicator />
      </ThemedView>
    );
  }

  const appearance = {
    theme: backgroundColor === "black" ? "night" : "stripe",
  } as Appearance;

  const layout = {
    type: "accordion",
    defaultCollapsed: false,
    radios: true,
    spacedAccordionItems: false,
  };

  const options = {
    appearance,
    layout,
  };

  return (
    <ThemedView>
      {clientSecret && stripePromise && (
        <Elements stripe={stripePromise} options={{ clientSecret, ...options }}>
          <ThemedView>
            <CheckoutForm />
          </ThemedView>
        </Elements>
      )}
    </ThemedView>
  );
}
In the useEffect, we call
fetchClientSecretto retrieve the client secret from our backend server. You can see an example of thecreatePaymentIntentClientSecretfunction hereWe also set the
stripePromisethough callingloadingStripewith thepublishableKeyWhen the
clientSecretandstripePromisehave been set, we render the Elements component from Stripe. We use a custom CheckoutForm (example here)
Here is what the web component should look like:
Stripe on Native
Let's focus on the native implementation. This relies on the initPaymentSheet and presentPaymentSheet from the stripeFunctions file we created earlier. Notice we didn't include the file extension here; when the app runs, Expo Router handles importing the correct module based on the platform the app is running in.
Update your index.native.tsx so it resembles the following:
import { Alert, Button, Image, StyleSheet } from "react-native";

import { HelloWave } from "@/components/HelloWave";
import ParallaxScrollView from "@/components/ParallaxScrollView";
import { ThemedText } from "@/components/ThemedText";
import { ThemedView } from "@/components/ThemedView";
import {
  initPaymentSheet,
  presentPaymentSheet,
} from "@/providers/stripe/stripeFunctions";
import { createPaymentIntentClientSecret } from "@/helpers";
import { router } from "expo-router";

export default function HomeScreen() {
  async function pay() {
    const requestBody = {
      amount: 1000,
      currency: "usd",
    };

    const { customer, clientSecret } = await createPaymentIntentClientSecret(
      requestBody
    );

    if (!customer || !clientSecret) {
      return;
    }

    const paymentSheetConfig = {
      merchantDisplayName: "Example, Inc.",
      customerId: customer,
      paymentIntentClientSecret: clientSecret,
      allowsDelayedPaymentMethods: true,
      defaultBillingDetails: {
        name: "Jane Doe",
      },
    };

    const { error: initPaymentSheetError } = await initPaymentSheet(
      paymentSheetConfig
    );

    if (initPaymentSheetError) {
      Alert.alert(
        "There was a problem processing the payment",
        "Please try again later"
      );

      return;
    }

    const { error: presentPaymentSheetError } = await presentPaymentSheet();

    if (presentPaymentSheetError) {
      Alert.alert(
        "There was a problem processing the payment",
        "Please try again later"
      );

      return;
    }

    router.navigate("/completion");
  }

  return (
    <ParallaxScrollView
      headerBackgroundColor={{ light: "#A1CEDC", dark: "#1D3D47" }}
      headerImage={
        <Image
          source={require("@/assets/images/partial-react-logo.png")}
          style={styles.reactLogo}
        />
      }
    >
      <ThemedView style={styles.titleContainer}>
        <ThemedText type="title">Stripe on Native!</ThemedText>
        <HelloWave />
      </ThemedView>

      <Button onPress={pay} title="Pay" />
    </ParallaxScrollView>
  );
}

const styles = StyleSheet.create({
  titleContainer: {
    flexDirection: "row",
    alignItems: "center",
    gap: 8,
  },
  stepContainer: {
    gap: 8,
    marginBottom: 8,
  },
  reactLogo: {
    height: 178,
    width: 290,
    bottom: 0,
    left: 0,
    position: "absolute",
  },
});
Here is what the native app should look like:
Add the Completion page
In the CheckoutForm component, when we are confirming the payment we need to specify a return_url; this will ensure a redirect occurs when the payment is successful:
  const { error } = await stripe.confirmPayment({
      elements,
      confirmParams: {
        return_url: `${window.location.origin}/completion`,
      },
    });
The return_url can be anything, however for the purpose of this article the path is /completion. Create two files in the app directory - completion.native.tsx and completion.tsx - and add the following content:
import { StyleSheet, Text } from "react-native";
import { ThemedView } from "@/components/ThemedView";

export default function Screen() {
  return (
    <ThemedView
      style={styles.container}
    >
      <Text>Payment successful! 🎉</Text>
    </ThemedView>
  );
}

const styles = StyleSheet.create({
  container: { flex: 1, justifyContent: "center", alignItems: "center" },
});
This will ensure upon a successful payment the app will navigate to the correct page. Here is a demo:
Conclusion
Integrating Stripe into your Expo project across Web, iOS, and Android platforms provides a seamless payment experience for your users. By leveraging platform-specific extensions, you can create tailored experiences for each platform, ensuring optimal performance and usability.
Looking to build your next mobile app? Skip the exhaustive setup and launch to your users faster with Launchtoday.
For more updates, follow me on X. Happy shipping!
Code Snippets
Example FastAPI endpoint for returning the client secret from Stripe:
@app.post("/stripe-payment-intent")
async def create_payment_intent(request):
    try:
        if not request.amount or not request.currency:
            raise HTTPException(
                status_code=400, detail="amount or currency is not defined"
            )

        customer = stripe.Customer.create()

        payment_intent = stripe.PaymentIntent.create(
            amount=request.amount,
            currency=request.currency,
            customer=customer.id,
            automatic_payment_methods={"enabled": True},
        )

        client_secret = payment_intent.client_secret

        return {"clientSecret": client_secret, "customer": customer.id}
Tutorial
Jun 13, 2024
Integrating Stripe on Web and Native apps with Expo
By the end of this article, you will learn how to integrate Stripe with your Expo app to provide a seamless payment experience on Web, iOS, and Android. Additionally, you will explore Platform-specific extensions which facilitate module switching based on the platform in Expo Router.
You can find a link to the project on Github here, and below is a demo of what you're going to build:
Prerequisites
Before we get started, ensure you've done the following:
Stripe Integration: Ensure you have followed this guide on setting up Stripe.
Backend Server: You need a backend server to communicate with Stripe and return a client secret (check the code snippets section at the bottom of this article for an example)
Stripe Publishable Key: Obtain a Stripe publishable key from the Stripe dashboard
Create your Expo app
Use the following command to create a brand new Expo project:
npx create-expo-app@latest --template defaultOnce the app is created, you will need to do the following:
delete the
app/(tabs)directorycreate a new
index.tsxfile insideappupdate the
_layout.tsxfile; replacename="(tabs)"withname="index"
Install the required dependencies
Next, install the Stripe dependencies needed for this project:
npx expo install @stripe/stripe-react-native @stripe/react-stripe-js @stripe/stripe-jsAdd Platform-specific extensions for the UI
Platform-specific extensions allow for different app experiences based on the platform. You may want to show specific content on Web compared to iOS or Android; platform-specific extensions enable you to achieve this.
Create two files in your app directory: _layout.tsx and _layout.native.tsx. The .native.tsx extension ensures that Expo Router renders the correct component for native apps, while the .tsx extension renders for web. Both files should have the same content as follows:
import {
  DarkTheme,
  DefaultTheme,
  ThemeProvider,
} from "@react-navigation/native";
import { useFonts } from "expo-font";
import { Stack } from "expo-router";
import * as SplashScreen from "expo-splash-screen";
import { useEffect } from "react";
import "react-native-reanimated";

import { useColorScheme } from "@/hooks/useColorScheme";

// Prevent the splash screen from auto-hiding before asset loading is complete.
SplashScreen.preventAutoHideAsync();

export default function RootLayout() {
  const colorScheme = useColorScheme();
  const [loaded] = useFonts({
    SpaceMono: require("../assets/fonts/SpaceMono-Regular.ttf"),
  });

  useEffect(() => {
    if (loaded) {
      SplashScreen.hideAsync();
    }
  }, [loaded]);

  if (!loaded) {
    return null;
  }

  return (
    <ThemeProvider value={colorScheme === "dark" ? DarkTheme : DefaultTheme}>
      <Stack>
        <Stack.Screen name="index" options={{ headerShown: false }} />
        <Stack.Screen name="+not-found" />
      </Stack>
    </ThemeProvider>
  );
}
Next, create the screen for the index route with similar file extensions. You should have two index files: index.native.tsx and index.tsx with the following content:
// index.native.tsx:

import { Image, StyleSheet } from "react-native";
import { HelloWave } from "@/components/HelloWave";
import ParallaxScrollView from "@/components/ParallaxScrollView";
import { ThemedText } from "@/components/ThemedText";
import { ThemedView } from "@/components/ThemedView";

export default function HomeScreen() {
  return (
    <ParallaxScrollView
      headerBackgroundColor={{ light: "#A1CEDC", dark: "#1D3D47" }}
      headerImage={
        <Image
          source={require("@/assets/images/partial-react-logo.png")}
          style={styles.reactLogo}
        />
      }
    >
      <ThemedView style={styles.titleContainer}>
        <ThemedText type="title">Stripe on Native!</ThemedText>
        <HelloWave />
      </ThemedView>
    </ParallaxScrollView>
  );
}

const styles = StyleSheet.create({
  titleContainer: {
    flexDirection: "row",
    alignItems: "center",
    gap: 8,
  },
  stepContainer: {
    gap: 8,
    marginBottom: 8,
  },
  reactLogo: {
    height: 178,
    width: 290,
    bottom: 0,
    left: 0,
    position: "absolute",
  },
});
// index.tsx
import { Image, StyleSheet } from "react-native";
import { HelloWave } from "@/components/HelloWave";
import ParallaxScrollView from "@/components/ParallaxScrollView";
import { ThemedText } from "@/components/ThemedText";
import { ThemedView } from "@/components/ThemedView";
export default function HomeScreen() {
return (
<ParallaxScrollView
headerBackgroundColor={{ light: "#A1CEDC", dark: "#1D3D47" }}
headerImage={
<Image
source={require("@/assets/images/partial-react-logo.png")}
style={styles.reactLogo}
/>
}
>
<ThemedView style={styles.titleContainer}>
<ThemedText type="title">Stripe on Web!</ThemedText>
<HelloWave />
</ThemedView>
</ParallaxScrollView>
);
}
const styles = StyleSheet.create({
titleContainer: {
flexDirection: "row",
alignItems: "center",
gap: 8,
},
stepContainer: {
gap: 8,
marginBottom: 8,
},
reactLogo: {
height: 178,
width: 290,
bottom: 0,
left: 0,
position: "absolute",
},
});As a result, your Web and Native app should resemble the following:
Add Platform-specific extensions for Stripe
The next step is to create the platform-specific extensions for Stripe. These will expose different functions that will be called based on the platform.
First, create a new providers directory in the root of your project and add a folder named stripe. Inside this folder, you will need to create the following files:
stripe.native.tsx- this will export aStripeProvidercomponent from the@stripe/stripe-react-nativedependencystripe.web.tsx- this file will export a placeholderStripeProvidercomponent for the web, without importing Stripe.stripeFunctions.native.tsx- this file will export native functions for initialising and presenting the Stripe payment sheet on native platformsstripeFunctions.web.tsx- this file will export placeholder functions for the web, omitting the Stripe import.
Let's focus on each file one by one and add the correct code.
stripe.native.tsx
Add the following content to the file. This file will import Stripe, initPaymentSheet and presentPaymentSheet from @stripe/stripe-react-native:
import * as Stripe from "@stripe/stripe-react-native";
import {
  initPaymentSheet,
  presentPaymentSheet,
} from "@stripe/stripe-react-native";

export const StripeProvider: React.FC<{
  publishableKey: string;
  children: JSX.Element | JSX.Element[];
}> = ({ publishableKey, children }) => {
  return (
    <Stripe.StripeProvider
      publishableKey={publishableKey}
    >
      {children}
    </Stripe.StripeProvider>
  );
};

export { initPaymentSheet, presentPaymentSheet };
stripe.web.tsx
Add the following content to the file:
import React from "react";

export const StripeProvider: React.FC<{
  publishableKey: string;
  children: JSX.Element | JSX.Element[];
}> = ({ children }) => {
  return <>{children}</>;
};
stripeFunctions.native.tsx
Similar to stripe.native.tsx, this file will export the initPaymentSheet and presentPaymentSheet from @stripe/stripe-react-native to be used in the native app for initialising and displaying the payment sheet:
import { PaymentSheetConfig } from "@/types";
import {
  initPaymentSheet as nativeInitPaymentSheet,
  presentPaymentSheet as nativePresentPaymentSheet,
} from "@stripe/stripe-react-native";

export const initPaymentSheet = async (
  paymentSheetConfig: PaymentSheetConfig
) => {
  return await nativeInitPaymentSheet(paymentSheetConfig);
};

export const presentPaymentSheet = async () => {
  return await nativePresentPaymentSheet();
};
stripeFunctions.web.tsx
Lastly, this file will export placeholder functions for web:
export const initPaymentSheet = async () => {
  return { error: null };
};

export const presentPaymentSheet = async () => {
  return { error: null };
};
Create a Stripe Provider
Once the above files are created, you need to create a StripeProvider.tsx component within your providers directory. This component will import the appropriate StripeProvider based on the platform. Your file structure should dynamically import the correct provider, ensuring functionality across both web and native platforms:
import React from "react";
import { StripeProvider as CustomStripeProvider } from "./stripe/stripe";

type StripeProviderProps = {
  children: JSX.Element | JSX.Element[];
};

const StripeProvider: React.FC<StripeProviderProps> = ({
  children,
}: StripeProviderProps): JSX.Element => {
  const publishableKey = process.env.EXPO_PUBLIC_STRIPE_PUBLISHABLE_KEY;

  if (!publishableKey) {
    throw new Error(
      "publishableKey is not set. Ensure that EXPO_PUBLIC_STRIPE_PUBLISHABLE_KEY is set in your environment variables."
    );
  }

  return (
    <CustomStripeProvider
      publishableKey={publishableKey}
    >
      {children}
    </CustomStripeProvider>
Stripe on Web
To define the behavior for showing the Stripe form on the web, you will need to fetch a client secret from your backend server. This client secret is required to display payment form for entering card details. Upon loading the component, use the client secret to initialise Stripe Elements and render the payment form accordingly.
In the index.tsx file of your app (inside the app directory), replace the contents of the file with the following:
import { ThemedView } from "@/components/ThemedView";
import { Elements } from "@stripe/react-stripe-js";
import { useEffect, useState } from "react";
import { ActivityIndicator } from "react-native";
import { Appearance, Stripe, loadStripe } from "@stripe/stripe-js";
import { useThemeColor } from "@/hooks/useThemeColor";
import { createPaymentIntentClientSecret } from "@/helpers";
import CheckoutForm from "@/components/CheckoutForm";

export default function Screen() {
  const [clientSecret, setClientSecret] = useState<string | null>();
  const [stripePromise, setStripePromise] =
    useState<Promise<Stripe | null> | null>(null);

  const backgroundColor = useThemeColor(
    { light: "white", dark: "black" },
    "background"
  );

  const publishablekey = process.env.EXPO_PUBLIC_STRIPE_PUBLISHABLE_KEY;

  if (!publishablekey) {
    throw new Error("Stripe publishable key is not set");
  }

  useEffect(() => {
    async function fetchClientSecret() {
      const requestBody = {
        amount: 1000, // Replace with the actual amount
        currency: "usd", // Replace with the actual currency
      };

      const { clientSecret } = await createPaymentIntentClientSecret(
        requestBody
      );

      setClientSecret(clientSecret);
      setStripePromise(loadStripe(publishablekey!));
    }

    fetchClientSecret();
  }, []);

  if (!clientSecret) {
    return (
      <ThemedView style={{ justifyContent: "center" }}>
        <ActivityIndicator />
      </ThemedView>
    );
  }

  const appearance = {
    theme: backgroundColor === "black" ? "night" : "stripe",
  } as Appearance;

  const layout = {
    type: "accordion",
    defaultCollapsed: false,
    radios: true,
    spacedAccordionItems: false,
  };

  const options = {
    appearance,
    layout,
  };

  return (
    <ThemedView>
      {clientSecret && stripePromise && (
        <Elements stripe={stripePromise} options={{ clientSecret, ...options }}>
          <ThemedView>
            <CheckoutForm />
          </ThemedView>
        </Elements>
      )}
    </ThemedView>
  );
}
In the useEffect, we call
fetchClientSecretto retrieve the client secret from our backend server. You can see an example of thecreatePaymentIntentClientSecretfunction hereWe also set the
stripePromisethough callingloadingStripewith thepublishableKeyWhen the
clientSecretandstripePromisehave been set, we render the Elements component from Stripe. We use a custom CheckoutForm (example here)
Here is what the web component should look like:
Stripe on Native
Let's focus on the native implementation. This relies on the initPaymentSheet and presentPaymentSheet from the stripeFunctions file we created earlier. Notice we didn't include the file extension here; when the app runs, Expo Router handles importing the correct module based on the platform the app is running in.
Update your index.native.tsx so it resembles the following:
import { Alert, Button, Image, StyleSheet } from "react-native";

import { HelloWave } from "@/components/HelloWave";
import ParallaxScrollView from "@/components/ParallaxScrollView";
import { ThemedText } from "@/components/ThemedText";
import { ThemedView } from "@/components/ThemedView";
import {
  initPaymentSheet,
  presentPaymentSheet,
} from "@/providers/stripe/stripeFunctions";
import { createPaymentIntentClientSecret } from "@/helpers";
import { router } from "expo-router";

export default function HomeScreen() {
  async function pay() {
    const requestBody = {
      amount: 1000,
      currency: "usd",
    };

    const { customer, clientSecret } = await createPaymentIntentClientSecret(
      requestBody
    );

    if (!customer || !clientSecret) {
      return;
    }

    const paymentSheetConfig = {
      merchantDisplayName: "Example, Inc.",
      customerId: customer,
      paymentIntentClientSecret: clientSecret,
      allowsDelayedPaymentMethods: true,
      defaultBillingDetails: {
        name: "Jane Doe",
      },
    };

    const { error: initPaymentSheetError } = await initPaymentSheet(
      paymentSheetConfig
    );

    if (initPaymentSheetError) {
      Alert.alert(
        "There was a problem processing the payment",
        "Please try again later"
      );

      return;
    }

    const { error: presentPaymentSheetError } = await presentPaymentSheet();

    if (presentPaymentSheetError) {
      Alert.alert(
        "There was a problem processing the payment",
        "Please try again later"
      );

      return;
    }

    router.navigate("/completion");
  }

  return (
    <ParallaxScrollView
      headerBackgroundColor={{ light: "#A1CEDC", dark: "#1D3D47" }}
      headerImage={
        <Image
          source={require("@/assets/images/partial-react-logo.png")}
          style={styles.reactLogo}
        />
      }
    >
      <ThemedView style={styles.titleContainer}>
        <ThemedText type="title">Stripe on Native!</ThemedText>
        <HelloWave />
      </ThemedView>

      <Button onPress={pay} title="Pay" />
    </ParallaxScrollView>
  );
}

const styles = StyleSheet.create({
  titleContainer: {
    flexDirection: "row",
    alignItems: "center",
    gap: 8,
  },
  stepContainer: {
    gap: 8,
    marginBottom: 8,
  },
  reactLogo: {
    height: 178,
    width: 290,
    bottom: 0,
    left: 0,
    position: "absolute",
  },
});
Here is what the native app should look like:
Add the Completion page
In the CheckoutForm component, when we are confirming the payment we need to specify a return_url; this will ensure a redirect occurs when the payment is successful:
  const { error } = await stripe.confirmPayment({
      elements,
      confirmParams: {
        return_url: `${window.location.origin}/completion`,
      },
    });
The return_url can be anything, however for the purpose of this article the path is /completion. Create two files in the app directory - completion.native.tsx and completion.tsx - and add the following content:
import { StyleSheet, Text } from "react-native";
import { ThemedView } from "@/components/ThemedView";

export default function Screen() {
  return (
    <ThemedView
      style={styles.container}
    >
      <Text>Payment successful! 🎉</Text>
    </ThemedView>
  );
}

const styles = StyleSheet.create({
  container: { flex: 1, justifyContent: "center", alignItems: "center" },
});
This will ensure upon a successful payment the app will navigate to the correct page. Here is a demo:
Conclusion
Integrating Stripe into your Expo project across Web, iOS, and Android platforms provides a seamless payment experience for your users. By leveraging platform-specific extensions, you can create tailored experiences for each platform, ensuring optimal performance and usability.
Looking to build your next mobile app? Skip the exhaustive setup and launch to your users faster with Launchtoday.
For more updates, follow me on X. Happy shipping!
Code Snippets
Example FastAPI endpoint for returning the client secret from Stripe:
@app.post("/stripe-payment-intent")
async def create_payment_intent(request):
    try:
        if not request.amount or not request.currency:
            raise HTTPException(
                status_code=400, detail="amount or currency is not defined"
            )

        customer = stripe.Customer.create()

        payment_intent = stripe.PaymentIntent.create(
            amount=request.amount,
            currency=request.currency,
            customer=customer.id,
            automatic_payment_methods={"enabled": True},
        )

        client_secret = payment_intent.client_secret

        return {"clientSecret": client_secret, "customer": customer.id}